


You’re in the middle of the dinner rush when it happens. A customer gets sick, and suddenly, you find yourself staring at a biohazard cleanup situation.
It’s not ideal, and it’s far from glamorous, but unfortunately, it’s part of the job.
Knowing how to handle hazardous waste like vomit and other biohazards is a key part of keeping your team safe and ensuring food safety. Not to mention, staying on the right side of the health inspections!
In this guide, we’ll break down everything you need to know about cleaning up biohazards with confidence.
Here’s what we’ll cover:
What are biohazards?
Why does proper biohazard cleanup matter?
What gear do you need for the job?
How should you clean up biohazards?
What are some dos and don’ts of biohazard clean-up?
What are biohazards?
First things first, let's make it clear what we're talking about here. Biohazards are any biological substances that could pose a threat to human health. This includes things like:
-
Blood
-
Vomit
-
Feces
-
Used needles or other materials contaminated by bodily fluids
Why does proper biohazard cleanup matter?
There are obvious reasons why you need to clean up biohazards promptly: it’s not exactly pleasant to have messes like vomit on your dining room floor.
However, there are also some unseen hazards to contend with here. Left unchecked, biohazards can spread bacteria, viruses, and other contaminants throughout your establishment. These pathogens can cause foodborne illnesses, which risk your customers’ well-being and put your business under health inspection scrutiny.
Aside from public health risks, failing to handle biohazards properly impacts your reputation.
One bad experience or failed health inspection can lead to poor reviews, declining customer trust, and even legal liability. The stakes are high, but the good news is that a solid cleanup system keeps everyone safe while maintaining your credibility.
What gear do you need for the job?
Every foodservice professional needs to be prepared for biohazard situations. Here’s the equipment list that transforms you into the ultimate cleanup pro:
-
Disposable gloves
-
Disposable masks
-
Biohazard cleanup kits
-
Absorbent materials (such as paper towels or commercial absorbents)
-
Biohazard disposal bags (clearly marked)
-
Approved disinfectants for foodservice environments
-
Caution signs
Create a dedicated biohazard kit so you can act fast. Keep it fully stocked and stored in an accessible location because, honestly, no one wants to be hunting for gloves when the situation arises. Consider this your foodservice “emergency button.”
How should you clean up biohazards?
Let’s talk about how to handle these not-so-pretty moments without breaking a sweat.
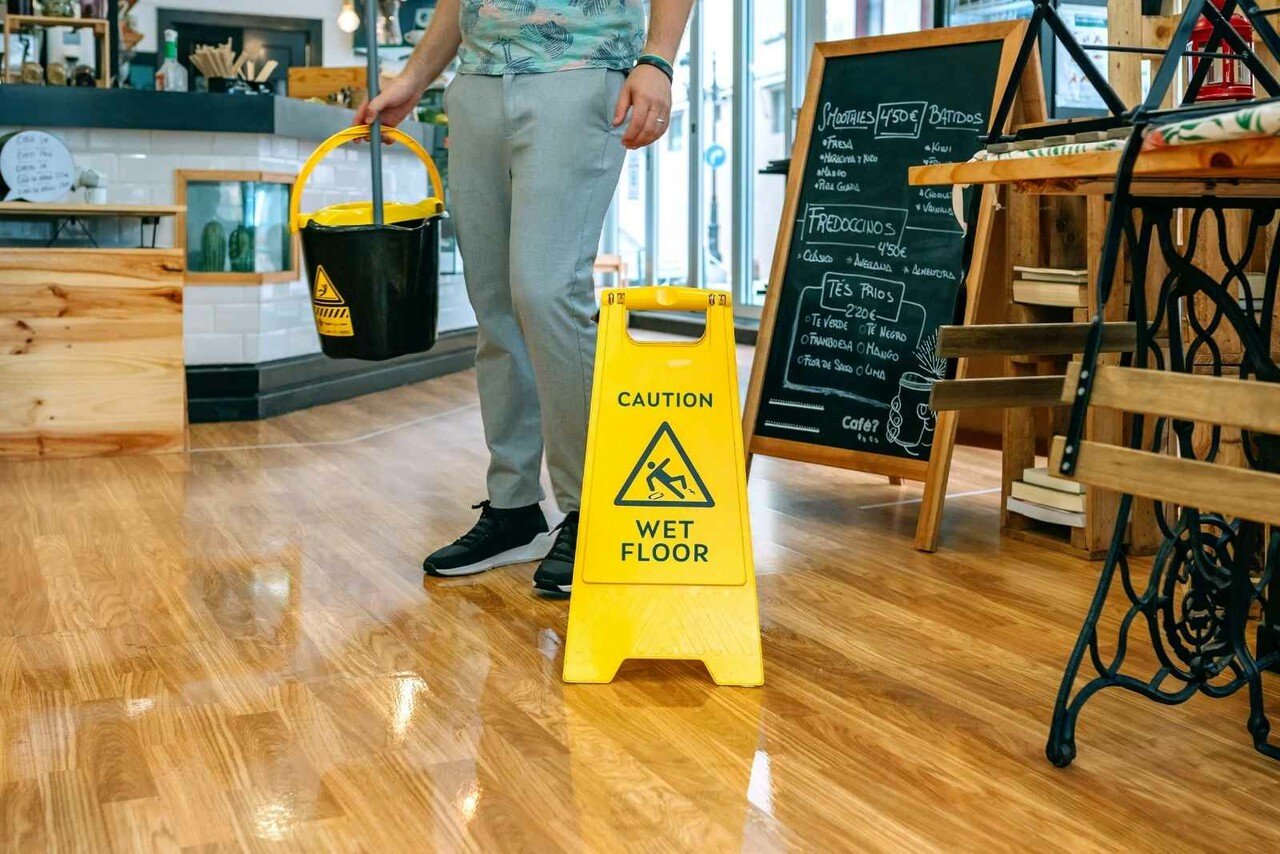
Secure the area
Start by stopping any additional contamination. Place caution signs around the area to warn your colleagues and guests. The goal is to prevent anyone from accidentally walking through or coming into contact with the mess. Think of it like drawing a safe perimeter for the biohazard zone.
Be thorough. This isn’t the moment for cutting corners. Do a quick scan to identify every affected area—even the spots not immediately noticeable. Someone slipping on an unnoticed spill is the last thing you need.
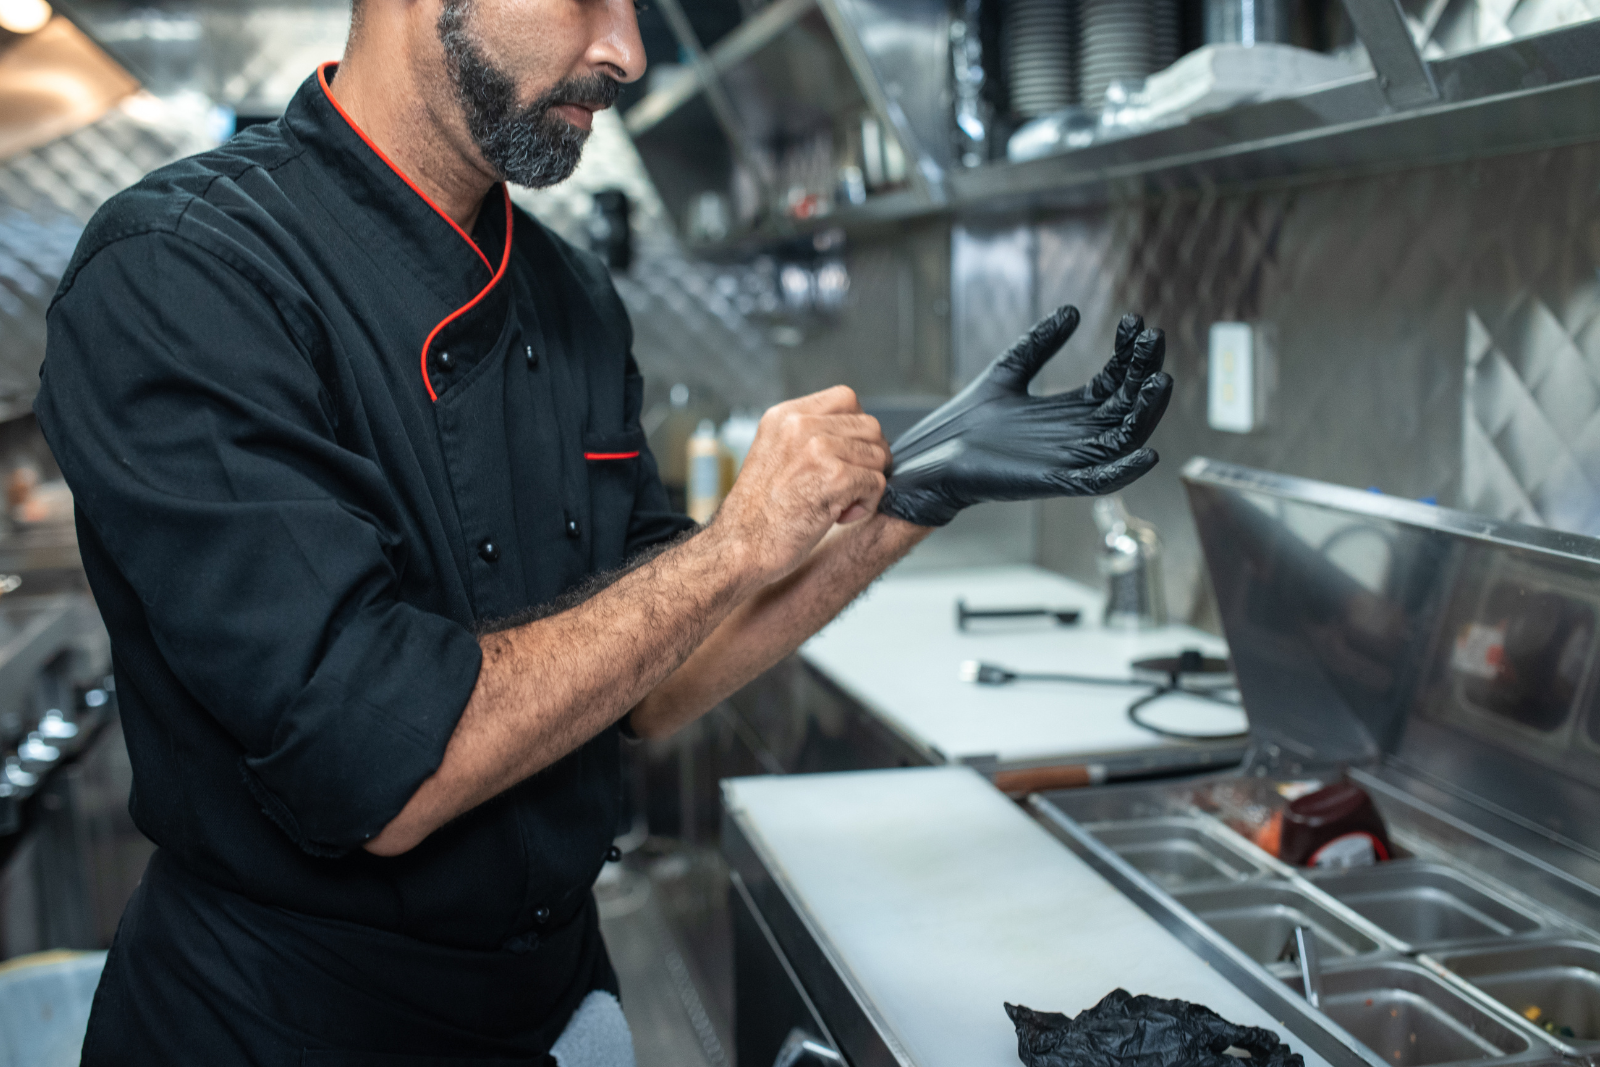
Protect yourself with the right gear
Before you even think about grabbing a mop, suit up. Gloves and masks aren’t optional here; they are mandatory. You need Personal Protective Equipment (PPE) to keep yourself safe and ensure you’re not inadvertently spreading germs.
Gloves, as mentioned briefly earlier, are your first line of defense for handling any biohazards. If you’re dealing with airborne risks, go for a mask to protect yourself further. Depending on the situation, you might need goggles or even a disposable apron to avoid cross-contamination.
If this feels like overkill, remember: taking these precautions isn’t being overly cautious. It’s being responsible.
Clean, don’t smear
Now, it's time for the real work. Your mission? Clean the area without making the situation worse. Start by blotting up any liquids using absorbent materials, like paper towels or spilled-liquid pads. Avoid smearing; that only spreads the biohazard further.
Once you’ve absorbed the bulk of the mess, it’s crucial to use disinfectants approved for foodservice environments. These products are your best defense against lingering germs. Follow the disinfectants’ usage instructions to a T, including proper dilution and application.
This isn’t the time for shortcuts, even though the task is unpleasant (and likely one you want to be over with immediately). Keep a steady hand and focus.
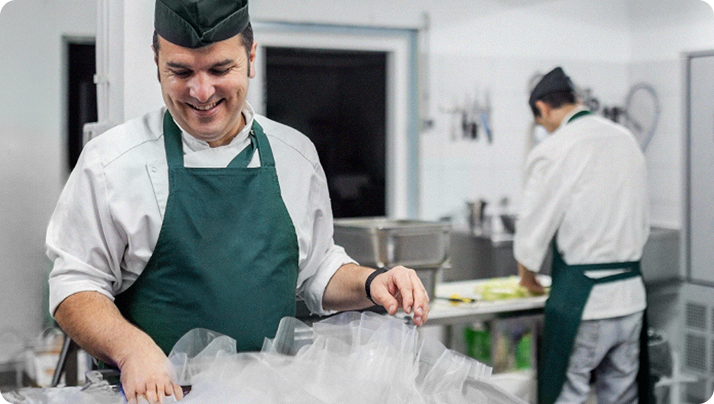
Dispose of waste properly
You can’t leave the contaminated materials lying around. Once you’ve cleaned up, make sure all items are double-bagged in leak-proof trash bags. Label the bags clearly as biohazard waste before disposing of them according to your local guidelines.
Document the disposal in your records for safety audits or inspections. While it might feel like a cumbersome extra step, having proof of your cleaning and disposal process can save you from future headaches. Being prepared is always better than being caught off guard.
Sanitize like a pro
Congratulations, you’ve cleaned up the hazard—but your job isn’t done yet. The final step is proper sanitation. This is what sets pros apart from amateurs (and ensures food safety standards are upheld).
Thoroughly sanitize the entire area you cleaned, paying attention to nearby surfaces even if they don’t seem affected. Germs are sneaky, and cross-contamination isn’t your friend in the foodservice world.
Follow the disinfectant’s instructions for dwell time (the amount of time it needs to sit to kill germs). Don’t rush this step. Your patience here pays off in thorough sanitization.
What are some dos and don’ts of biohazard cleanup?
Mistakes happen, but dealing with biohazards isn’t where you can afford to wing it or cut corners. Follow these tips to stay compliant:
Do’s:
-
Sanitize Nearby Areas: Splatter happens more often than you think. Even if something looks clean, always sanitize the entire vicinity of the contaminated area to remove unseen threats.
-
Dispose of Nearby Food: In general, it’s recommended that you dispose of any food that was within 25 feet of the contaminated area. Again, splatter happens. Don’t let it happen to your food supply.1
-
Use Proper Biohazard Bags: Regular trash bags won’t cut it. Get red, specially-marked biohazard bags explicitly designed for materials that pose a health risk. This ensures proper handling and disposal.
-
Train Your Team: Don’t wait until there’s a mess to teach your staff what to do. Regular, ongoing biohazard training is key to ensuring everyone knows the drill when emergencies occur.
-
Follow Disposal Protocols: Research your local or state regulations and stick to them. Authorized disposal processes might feel tedious, but they’re legally required for a reason.
Don’ts
-
Skip the Sanitization: Think you’re done after cleaning up the mess? Not so fast. Proper disinfection is a non-negotiable step to eliminate pathogens.
-
Use Regular Trash Cans: Never dispose of biohazards in your standard waste containers. Cross-contamination is a real risk, not to mention that it violates compliance requirements.
-
Assume Everyone Knows the Rules: You can’t rely on common sense alone. Without a formal training program, team members may skip steps or improperly handle a situation.
-
Rush the Process: Speed might matter during dinner service, but biohazard cleanup isn’t the time to cut corners. Follow all the necessary steps to protect your employees, customers, and business.
-
Forget to Document: Many local regulations require documentation of biohazard disposal. Don’t overlook recordkeeping—that paperwork could save you during inspections.
Be prepared, stay compliant
Now that you’re a biohazard pro, it’s time to turn this knowledge into action. You can start today by reviewing your current protocols and identifying gaps in your biohazard cleanup processes.
A safe, clean environment is the foundation for any successful kitchen. Remember, every little effort you make adds up. Whether it’s investing in proper training or doing a deep clean after spills, prioritizing safety always pays off in the long run.
Sources:
-
Healthy Aging Training Academy: HACCP SOP 2