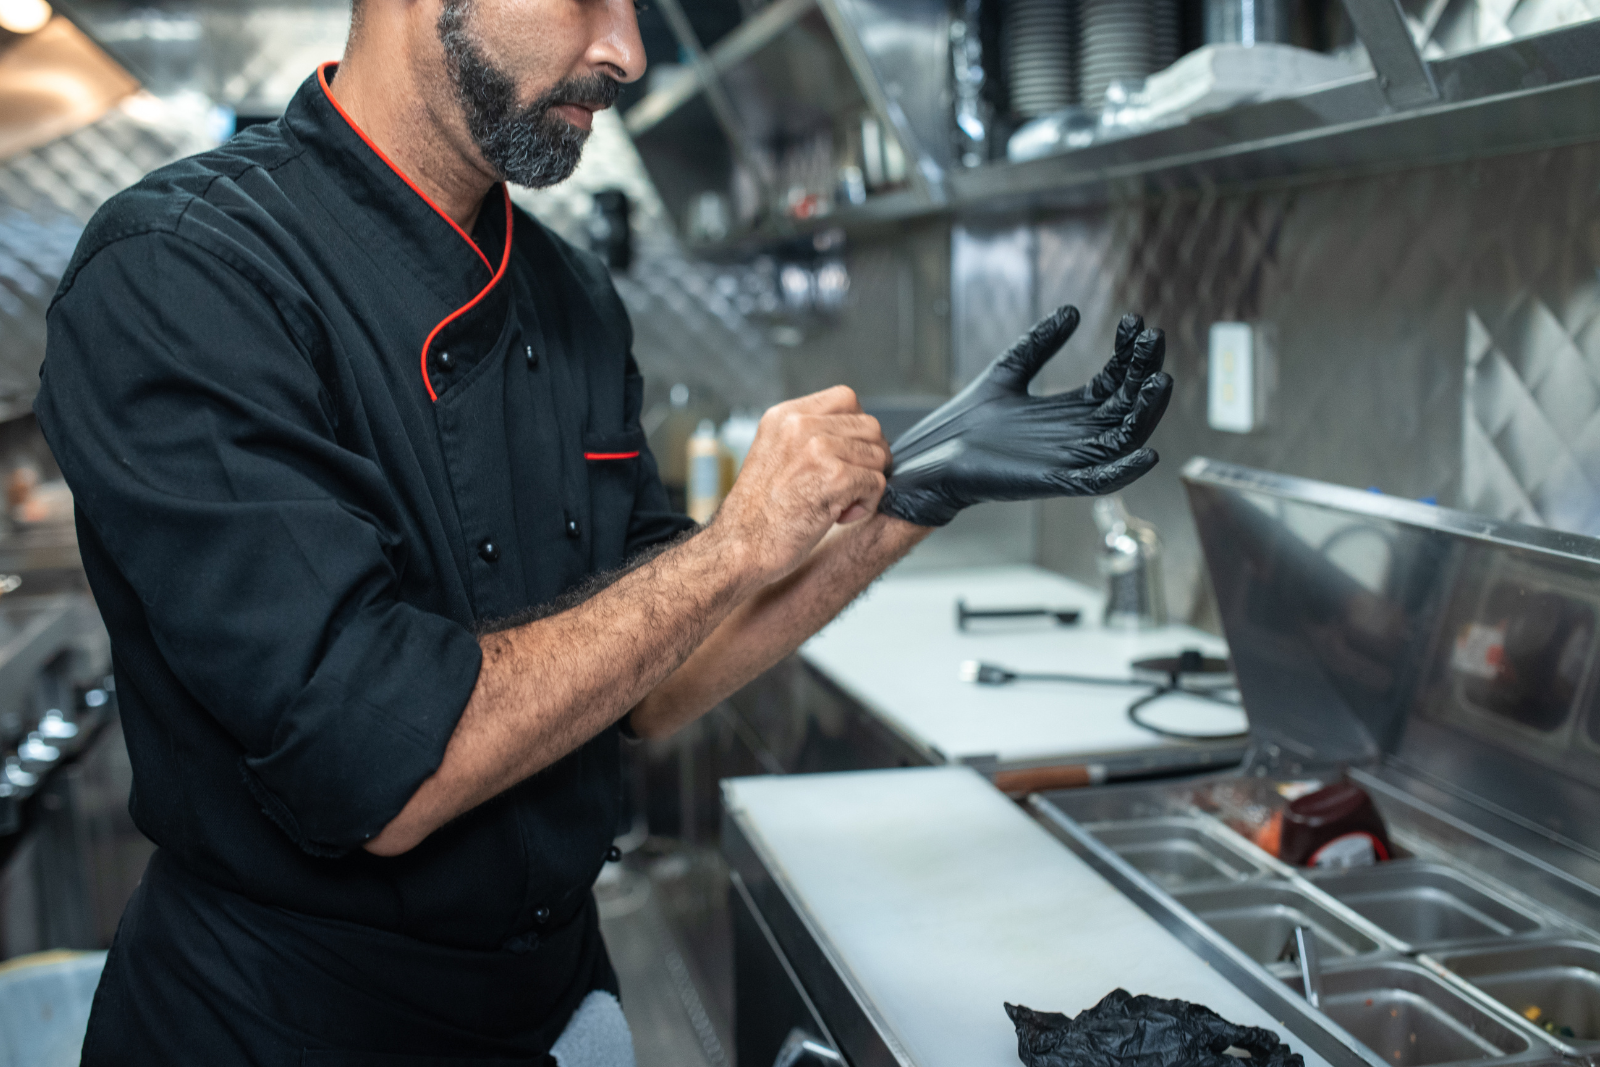


You're in the middle of prepping a beautiful meal, slicing and dicing like nobody's business.
Then, a slip of the knife turns your culinary masterpiece into a kitchen nightmare.
Sound familiar?
Mastering knife skills isn't just like pretending to be a Food Network star. On the contrary, it's all about precision, efficiency, and most importantly, safety.
The knife is more than a tool; it’s an extension of your hand. And mastering knife skills isn’t just about technique, either.
Exceptional knife skill starts with safety. Ready to see if you make the cut?
Let’s review the information you need to keep your knives sharp, your skills sharper, and your customers as safe as can be.
In this article, we’ll review:
How do I properly clean and sanitize my knives?
What kind of knives should you have on hand?
How do I properly hold a knife?
What are some basic knife skills?
How do I safely store my knives?
Common knife maintenance myths
How do I properly clean and sanitize my knives?
Keeping your knives clean and sharp is essential for both safety and hygiene.
Sharpening and honing
A dull knife is a dangerous knife. In fact, according to OSHA, dull tools cause far more injuries to people than do sharp ones.1
Regular sharpening and honing keep your blades in peak condition:
- Use a honing rod before almost every use to keep your knife edge aligned.
- Sharpen knives every few months or as needed (the frequency ultimately depends on usage).
- Choose a sharpening stone or a professional knife sharpening service for best results.
- Always follow the manufacturer’s instructions when sharpening.
Cleaning process
When it comes to cleaning, warm, soapy water is your best friend. Avoid harsh scrubbers that can damage the blade, and never leave knives soaking in water.
A few more tips:
- After washing, shake off excess water and dry knives immediately with a towel.
- Place knives on their side or upright on a drying rack to air dry thoroughly.
- Clean knife handles completely, checking for cracks or damage that could harbor bacteria.
- Replace any knife that has visible damage.
Cutting surfaces and food contact surface hygiene
Choosing the right cutting surface is critical for maintaining knife sharpness:
- Choose cutting surfaces made from wood or plastic to help preserve the sharpness of your knives.
- Avoid cutting boards made from glass, granite, or ceramic, as these materials quickly dull blades.
- Clean and sanitize both your knives and cutting boards before and between uses to reduce the risk of cross-contamination.
- Whenever possible, use separate cutting boards for raw meats and for fruits, vegetables, or bread.
Always make sure your knives and cutting boards are cleaned and sanitized before and between each use to prevent cross-contamination.
What kind of knives should you have on hand?
Not all knives are created equal. Each knife serves a specific purpose, and having the right tools makes a world of difference, both in terms of the finished product and in safety.2
|
Serrated utility knife |
The serrated utility knife is your go-to for slicing through crusty bread, delicate cakes, and soft fruits without squishing them. Its toothed edge grabs onto the surface, allowing for clean cuts with minimal effort. |
|
Chef’s knife |
With its broad blade and sharp edge, this knife handles everything from chopping vegetables to slicing meat with finesse. |
|
Boning knife |
Designed for removing bones from meat and fish, its narrow, flexible blade allows you to maneuver around joints and delicate structures with ease. |
|
Carving knife |
For those moments when presentation is key, the carving knife steps into the spotlight. Its long, thin blade ensures clean, even slices every time. |
|
Santoku knife |
Hailing from Japan, this knife is a versatile alternative to the traditional chef's knife. With its shorter, wider blade and granton edge (those dimples along the side), it's perfect for slicing, dicing, and chopping. |
|
Paring knife |
Small but mighty, the paring knife is your trusty companion for intricate tasks like peeling, trimming, and coring. Its compact size allows for delicate work, and its sharp edge ensures precision cuts. |
How do I properly hold a knife?
Let’s get a grip, shall we? Holding a knife properly is the foundation of safe and effective cutting. The secret to doing so lies in the pinch grip.
- Gently pinch the blade between your thumb and index finger for control.
- Wrap your other fingers around the handle to support the grip.
- Use your non-dominant hand for the "bear claw": Curl your fingers inward, resembling a bear’s paw, and use your knuckles as a guide to protect your fingertips.
Mastering these grips takes practice, but once you get the hang of it, you'll be slicing through vegetables like a pro.
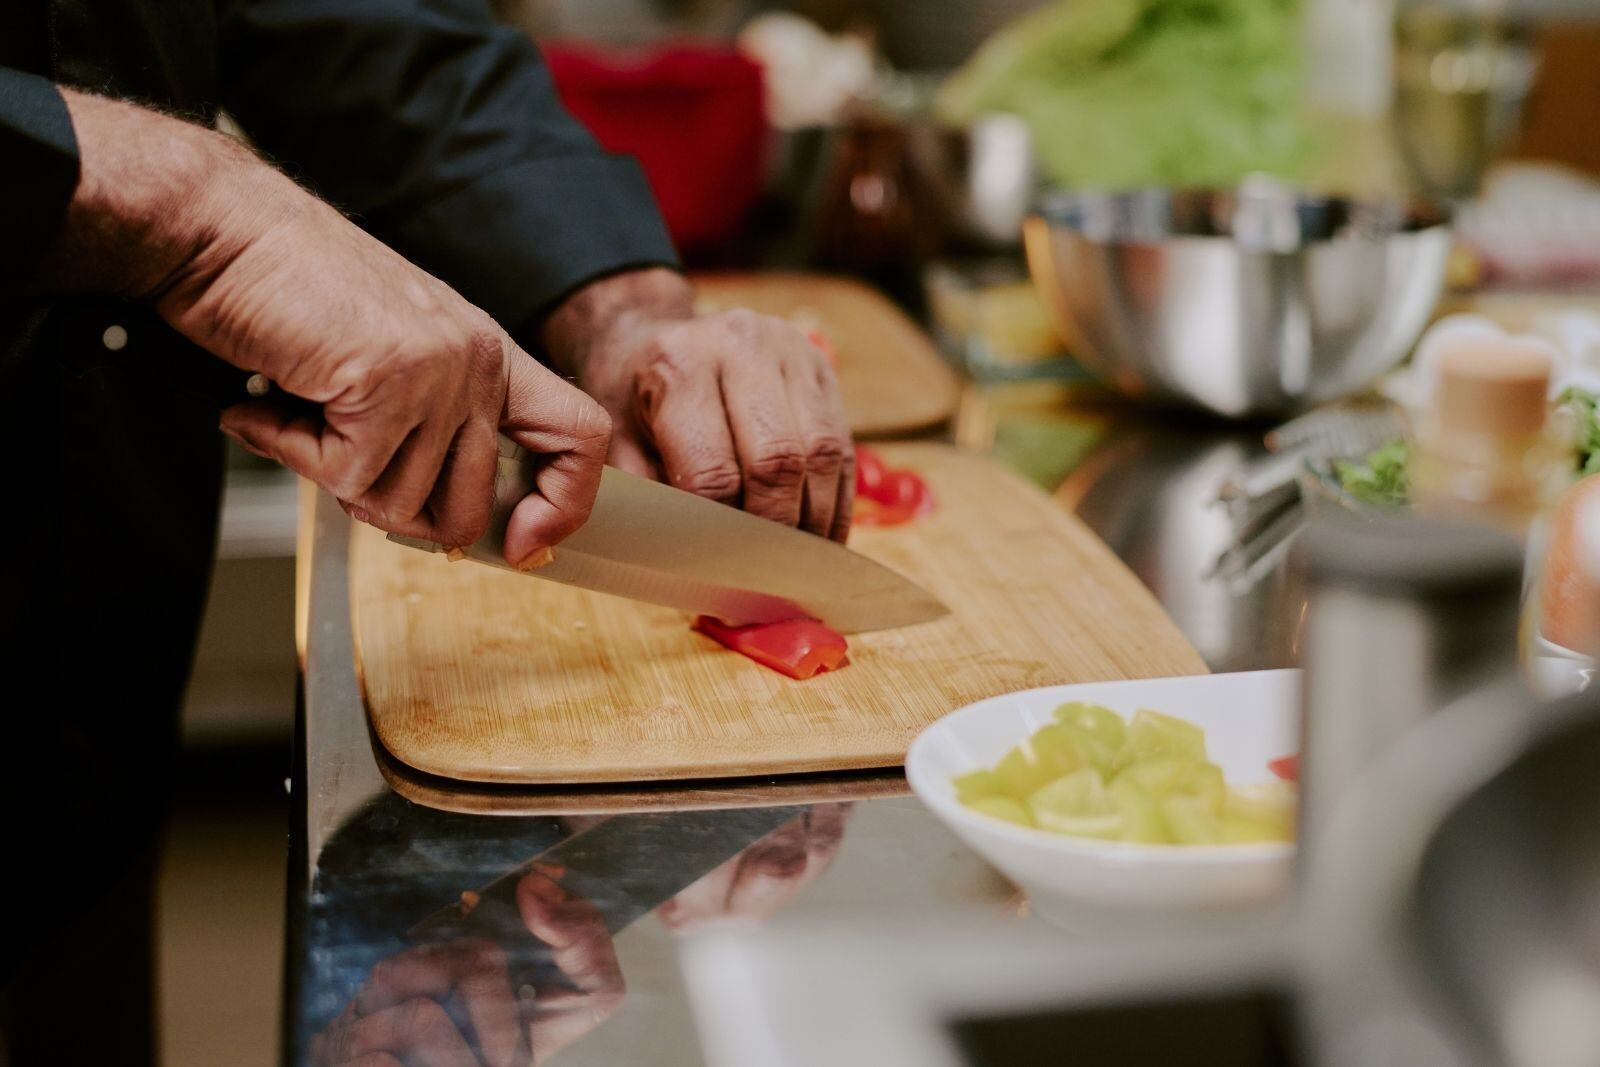
What are some basic knife skills?
Let’s get on the same (cutting) board about knife skills. Basic knife skills are the foundation upon which all other culinary skills are built. By knowing how to chop, slice, and dice, you’ll work faster, safer, and more efficiently.
Here are some key knife skills to master in the kitchen:
|
Chop |
The goal of chopping is uniformity; you want each piece of food to be the same size. Use a rocking motion as you cut the food and your non-dominant hand as a guide, keeping the food steady while your fingers are curled under for safety.3 |
|
Julienne |
First, slice your vegetable into a flat piece. Then, stack these slices and cut them into thin, uniform strips about the thickness of a matchstick. The julienne cut isn't just about aesthetics; it helps ingredients cook faster and blend seamlessly into a dish. |
|
Chiffonade |
This technique is ideal for leafy greens and herbs because it helps release more flavor. Start by stacking your leaves, rolling them tightly like a cigar. Then, with a sharp knife, make thin, even slices across the roll. |
|
Brunoise |
This fine dice results in tiny cubes perfect for salsas, garnishes, and sauces. Start with a julienne cut, then gather your strips and turn them 90 degrees to make a crosswise cut. Aim for uniformity, with pieces about 1/8 inch in all dimensions. |
|
Batonnet |
This cut is slightly thicker, about the size of a French fry, and is perfect for crudités, sautéing, or roasting. Begin by trimming your vegetable into a rectangular shape. Slice lengthwise into planks, then cut each plank into uniform sticks. |
|
Dice |
Dicing is a kitchen staple, perfect for preparing vegetables for soups, stews, and salads, providing uniformity and blending effortlessly with other ingredients. Cut your vegetables into planks, then strips, and finally cubes. The size of your dice will depend on your recipe! |
|
Bias Cut |
The bias cut increases the surface area of your ingredients and allows them to cook more quickly and evenly. To achieve a bias cut, hold your knife at a 45-degree angle and slice through your vegetable. The result should be elongated, oval-shaped pieces. |
|
Mince |
Whether you’re working with garlic, ginger, or herbs, mincing releases their full flavor potential. Start by finely dicing your ingredients. Then, gather the pieces and continue chopping until they’re as small as possible. As you rock, keep the knife tip on the cutting board. |
|
Oblique |
The oblique cut, or roll cut, is perfect for irregularly shaped vegetables like carrots or parsnips. Start by making a diagonal slice, then roll the vegetable a quarter turn before making the next cut. Continue this process for the entire vegetable. |
|
Lyonnaise |
This classic French technique simply involves slicing onions into thin, half-moon shapes. To do so, cut the onion in half from root to tip. Remove the peel and lay each half flat on the cutting board. Slice thinly from end to end, creating uniform crescent shapes. |
|
Tournee |
This technique transforms root vegetables into elegant, barrel-shaped pieces, perfect for serving as a side or garnish. Start by trimming your vegetable into a roughly cylindrical shape. Using a paring knife, carve away small sections to create a seven-sided, football-like shape. |
How do I safely store my knives?
Just as important as proper cleaning and sanitizing is the right storage for your knives. Here are some tips:
Keep them clean and dry
Before storing them, ensure your knives are cleaned, sanitized, and fully dry to prevent rust and corrosion.
Explore different knife storage options
Invest in a quality knife block, magnetic strip, or in-drawer knife organizer to keep your blades secure and accessible. These storage solutions prevent knives from jostling against each other, reducing the risk of nicks and chips. Smart storage will also reduce the risk of someone accidentally cutting themselves when rummaging around the kitchen!
Invest time in the team
If you’re a manager, educate your team on proper knife safety and sanitation. Make sure everyone knows how to handle, clean, and store knives and other utensils correctly.
Common knife maintenance myths
Old wives' tales extend to how we care for our tools. But sadly, believing these myths can shorten the lifespan of your knives and even compromise safety. Here, we'll debunk some of the most common misconceptions so you can keep your blades in top shape:
Myth 1: "It’s fine to throw my knives in the dishwasher."
The Reality: The dishwasher is essentially a torture chamber for quality knives.
While it might save time during cleanup, the high heat and harsh detergents can wreak havoc on your tools. The intense heat can warp handles and damage the temper of the steel, making the blade brittle. Furthermore, the water pressure often rattles knives against other silverware or the racks, leading to chips and dull edges.
The Fix: Always wash your knives by hand with warm, soapy water and dry them immediately.
Myth 2: "Sharpening and honing are basically the same thing."
The Reality: These terms are often used interchangeably, but they serve two very different purposes.
Think of honing as maintenance and sharpening as repair. When you use a honing rod (that long steel stick often included in knife sets), you are realigning the microscopic teeth of the blade's edge that get bent during use. It doesn't remove metal; it just straightens the edge. Sharpening, on the other hand, involves grinding bits of metal off the blade to create a fresh, new edge.
The Fix: You should hone your knife before almost every use to maintain the edge, but you only need to sharpen it a few times a year (depending on usage).
Myth 3: "A cutting board is a cutting board. They're all the same."
The Reality: The surface you cut on matters just as much as the knife you use.
Hard surfaces like glass, granite, ceramic, or even steel countertops are the enemies of a sharp edge. When a delicate knife blade strikes these unforgiving surfaces, the edge rolls or chips instantly. While glass boards might look sleek and are easy to clean, they will dull your knife faster than almost anything else.
The Fix: Stick to wood, bamboo, or high-quality plastic boards. These materials are soft enough to "give" slightly under the blade, preserving its sharpness while still providing a stable surface for your food.
FAQ
How often should I sharpen my knives?
It depends on how often you use them. For a home cook or a professional using knives daily, a full sharpening (removing metal to create a new edge) is typically needed every three to six months. However, you should use a honing rod before almost every use to realign the edge and keep it feeling sharp between professional sharpenings.
What is the best way to store knives?
Never store loose knives in a drawer where they can rattle against other utensils. This damages the blade and creates a safety hazard for your hands. The best storage methods include a magnetic strip mounted on the wall, a dedicated knife block, or a drawer insert with slots that separate the blades. If you must use a drawer, always use a blade guard to protect the edge.
Can I use the same knife for everything?
Technically you can, but it is not efficient or safe. While a chef's knife is versatile, it isn't designed for everything. Using a large chef's knife to peel a small strawberry is clumsy and risky, while using a small paring knife to slice a large watermelon is ineffective and dangerous. Using the right tool for the job (like a serrated knife for bread or a boning knife for meat) provides better control and cleaner cuts.
How do I know if my knife is dull?
A sharp knife should slice through food effortlessly with little pressure. If you find yourself sawing at a tomato, squishing an onion before the blade cuts it, or slipping off the skin of a bell pepper, your knife is dull. You can also try the "paper test": hold a sheet of paper vertically and try to slice down through it. A sharp knife will cut clean; a dull one will tear or crumple the paper.
What is the safest way to clean a knife?
Always wash knives by hand immediately after use. Hold the knife by the handle and use a sponge with warm, soapy water to wipe the blade, moving from the spine (the dull back) toward the edge to avoid cutting yourself. Never drop a knife into a sink full of soapy water where it can't be seen, as this is a common cause of kitchen cuts. Rinse, then dry immediately with a towel to prevent rust.
Cut through all the food safety noise with Trust20
Mastering knife skills is a fundamental aspect of being a foodservice professional. From holding a knife with confidence to maintaining its sharpness and hygiene, these skills enhance your efficiency and ensure the safety of your kitchen.
However, it’s not just about knife skills. To keep everyone in your establishment safe and healthy, you must also invest in the right training. Trust20’s training covers everything from allergen awareness to food handling, so we can help keep your knife and food safety skills sharp.
Give Trust20 a try today—and take some time to brush up on your knife skills. A little finesse at the cutting board goes a long way!
Sources:
- OSHA: Hand and Power Tools
- Culinary Institute of America: 5 Knife Skills Every Chef Must Have!
- Virginia Cooperative Extension: The Basics of Knife Skills