Food Safety

What is the Best Way to Store Utensils to Prevent Cross-Contamination?

Posted by
Trust20 Contributors • 8 minute read
Share:

Are you tired of losing utensils in a vast sea of kitchen clutter? Want a better way to make sure your customers’ food stays safe?

You may be thinking, “What’s the big deal? It’s just cutlery and cooking equipment. Throw them in a storage container and call it good enough."

However, food safety often comes down to the tiniest details–and correctly storing utensils is essential for keeping everyone safe, healthy, and well-fed.

Let’s look at the importance of correctly storing utensils for food safety and how you can immediately improve your operations in this critical area.

Here’s what we’ll cover:

The importance of proper utensil storage

How should utensils be stored?

The importance of proper utensil storage

We all know that food safety is a top priority, but did you know that proper utensil storage can play a big role in keeping your customers safe? Let's examine why utensil storage matters and how it can impact food safety.

The biggest issue? Cross-contamination.

This sneaky problem can happen when one food item spreads bacteria to another. It can happen in all kinds of ways, but one of the most common is via utensils.

For example, if you use the same cutting board and knife to chop up raw chicken and then prepare a salad, any bacteria from the chicken can easily transfer to the veggies.

And if you’re storing utensils improperly, like in a crowded and disorganized drawer, you're increasing the likelihood of cross-contamination. Think of it this way: if you're digging through a jumbled mess of utensils, you're more likely to accidentally touch a contaminated tool and then use it on a new food item.

Not only that, but improperly stored utensils are more likely to injure team members or customers. If you’re fumbling around trying to find a whisk and stab yourself with an errant kitchen knife, that will not only be “not fun,” but it may also mean time away from work and a less efficient kitchen. 

How should utensils be stored?

If you've ever struggled to find a specific utensil during a busy shift, then you know how important it is to have an organized storage system. It’s also, again, a matter of food safety.

Let’s take a closer look at how you can keep everyone safe.

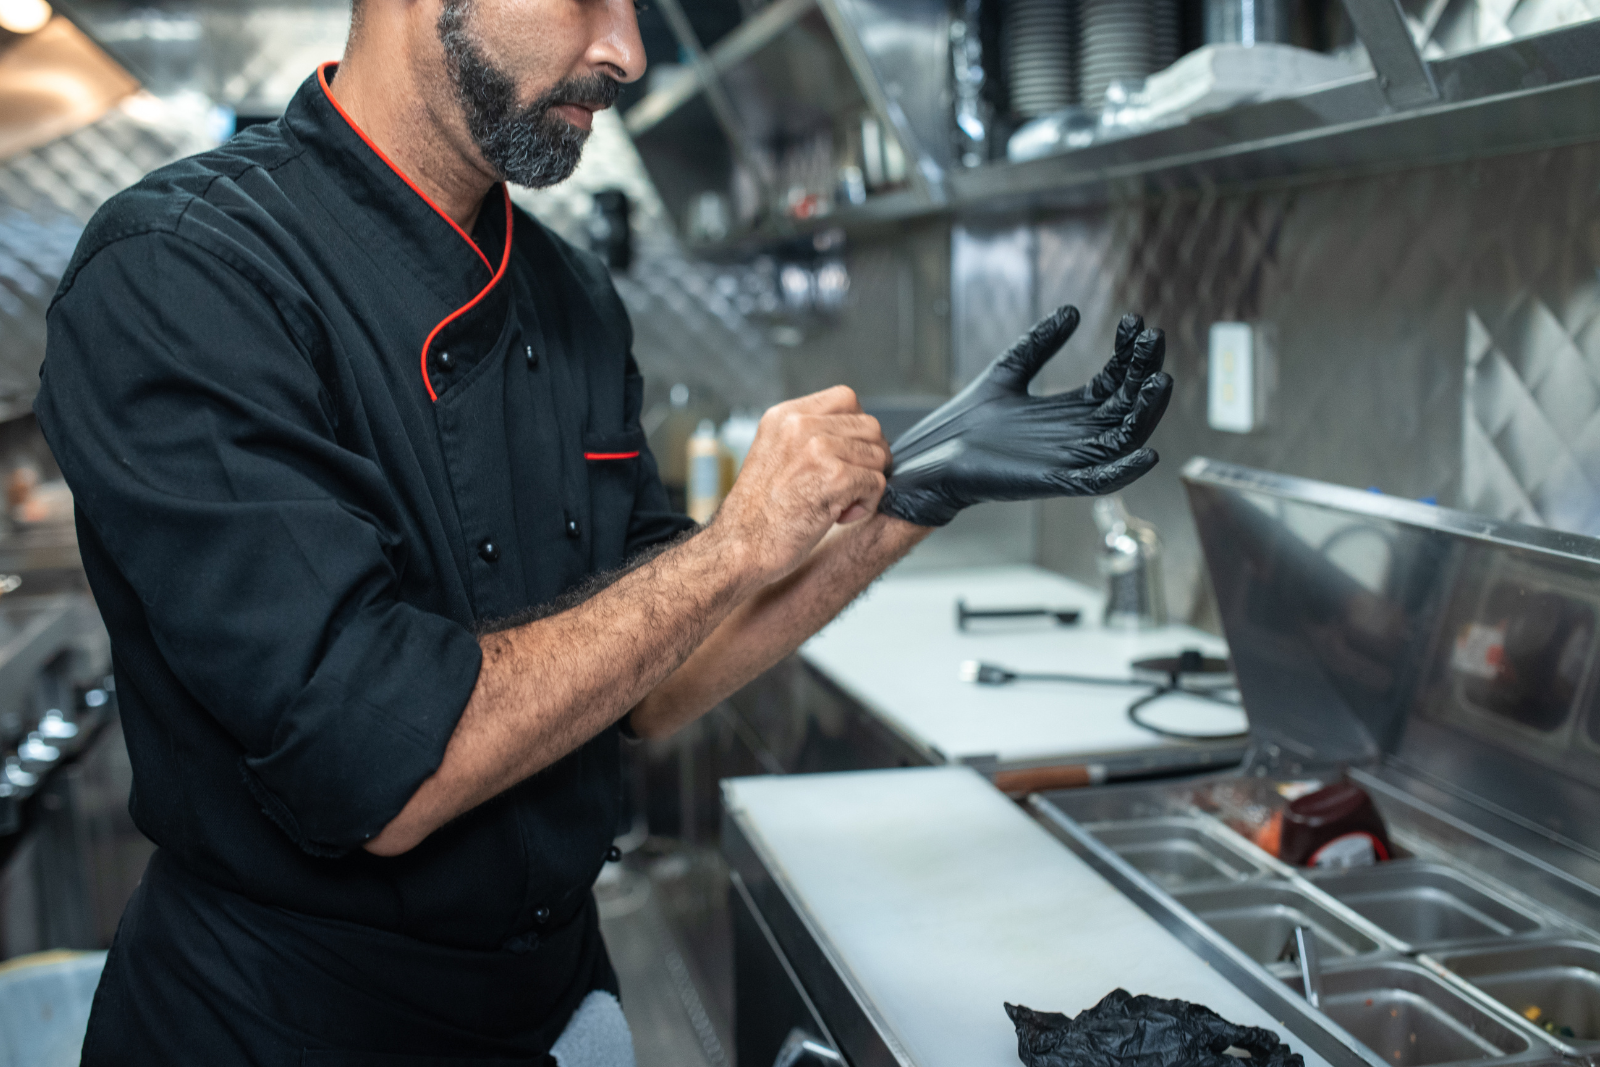
Make sure they’re held clean and dry

According to food codes, you should always ensure you hold utensils in a clean and dry state between each use.1 What exactly does that mean?

To start, utensils should never be left soaking in standing water or left unwashed for an extended period of time. This practice can cause bacteria to grow and spread, leading to potential health hazards. Instead, always wash utensils immediately after use with hot, soapy water, leaving them to air dry thoroughly before storage.

But what if you’re talking about utensils that need to be in constant use (like ice cream scoops or spatulas)? If you have a refrigerated unit, keep your utensils in there at a temperature of 4°C/41°F or less (meeting the same temperature requirement for storing TCS foods) for no longer than 24 hours.1 This will keep them cool and prevent harmful bacteria from multiplying.

If you don't have access to a fridge, you can also store those constant-use utensils in a container of hot water maintained at 60°C/135°F or higher for up to 24 hours. Change the water every four hours to prevent it from cooling down.

Another option is to use a dipper well with continuous running water, ideally at a temperature of at least 140°F. That will help to constantly wash and sanitize these utensils without needing constant manual washing. They will need to be swapped out eventually (more on this below), but it will get you by safely until that time arrives.

Clean and sanitize properly when there’s a risk of cross contamination or max time is reached

As we already covered, cross-contamination is one of the most significant risks to food safety. Transferring harmful bacteria from raw foods to cooked foods or ready-to-eat foods is a recipe for disaster.

Whenever there’s a risk of cross-contamination, wash your utensils.2 Wash them thoroughly in hot, soapy water after each use and before switching tasks, paying special attention to any areas with hard-to-reach nooks and crannies, like the bends in tongs or scissors.

Washing and sanitizing should also be done whenever your utensils reach the maximum use time. Usually, that will be around four hours or at meal change. A good rule of thumb is to clean and sanitize after breakfast, lunch, and dinner to ensure you stay ahead of any danger. 

Keep a sanitizer cloth handy

Even with proper cleaning, utensils can still develop nasty build-up over time. Bits of food or bacteria can hide in tiny crevices or on the surface of your utensils, creating the perfect breeding ground for pathogens.

That's where the sanitizer cloth comes in. By wiping down your utensils between uses, you can help remove any build-up lurking around. This way, you'll have a fresh, clean surface to work with the next time you grab that spatula or whisk.

Of course, using a sanitizer cloth should never replace your regular sanitizing and cleaning routine. You still need to properly wash, rinse, sanitize, and dry your utensils after each use to ensure they're safe. But by incorporating this extra step into your routine, you can help reduce the risk of foodborne illness and keep your kitchen running smoothly.

Don’t store directly in sanitizer

You might think you’re being ultra-vigilant, but when you store utensils directly in the sanitizer, any food debris clinging to them can inactivate the sanitizer, rendering it ineffective. And if you're not following the proper wash, rinse, sanitize, and air dry process, you're not doing all you can to keep germs at bay.

So what's the solution? Make sure you're following all the steps of the sanitizing process correctly–and when it comes to storage, keep those utensils in a designated, dry area. This practice is better for your utensils, better for your food, and better for everyone's health in the long run.

…or in ice water

Let’s not forget about the classic ice water bath, either. It may keep your tools cool (seemingly clean), but it also comes with risks.

The heat of your kitchen can cause the ice to melt quickly, leading to a pool of water mixed with food debris. That will deactivate the sanitizer and create a breeding ground for bacteria. 

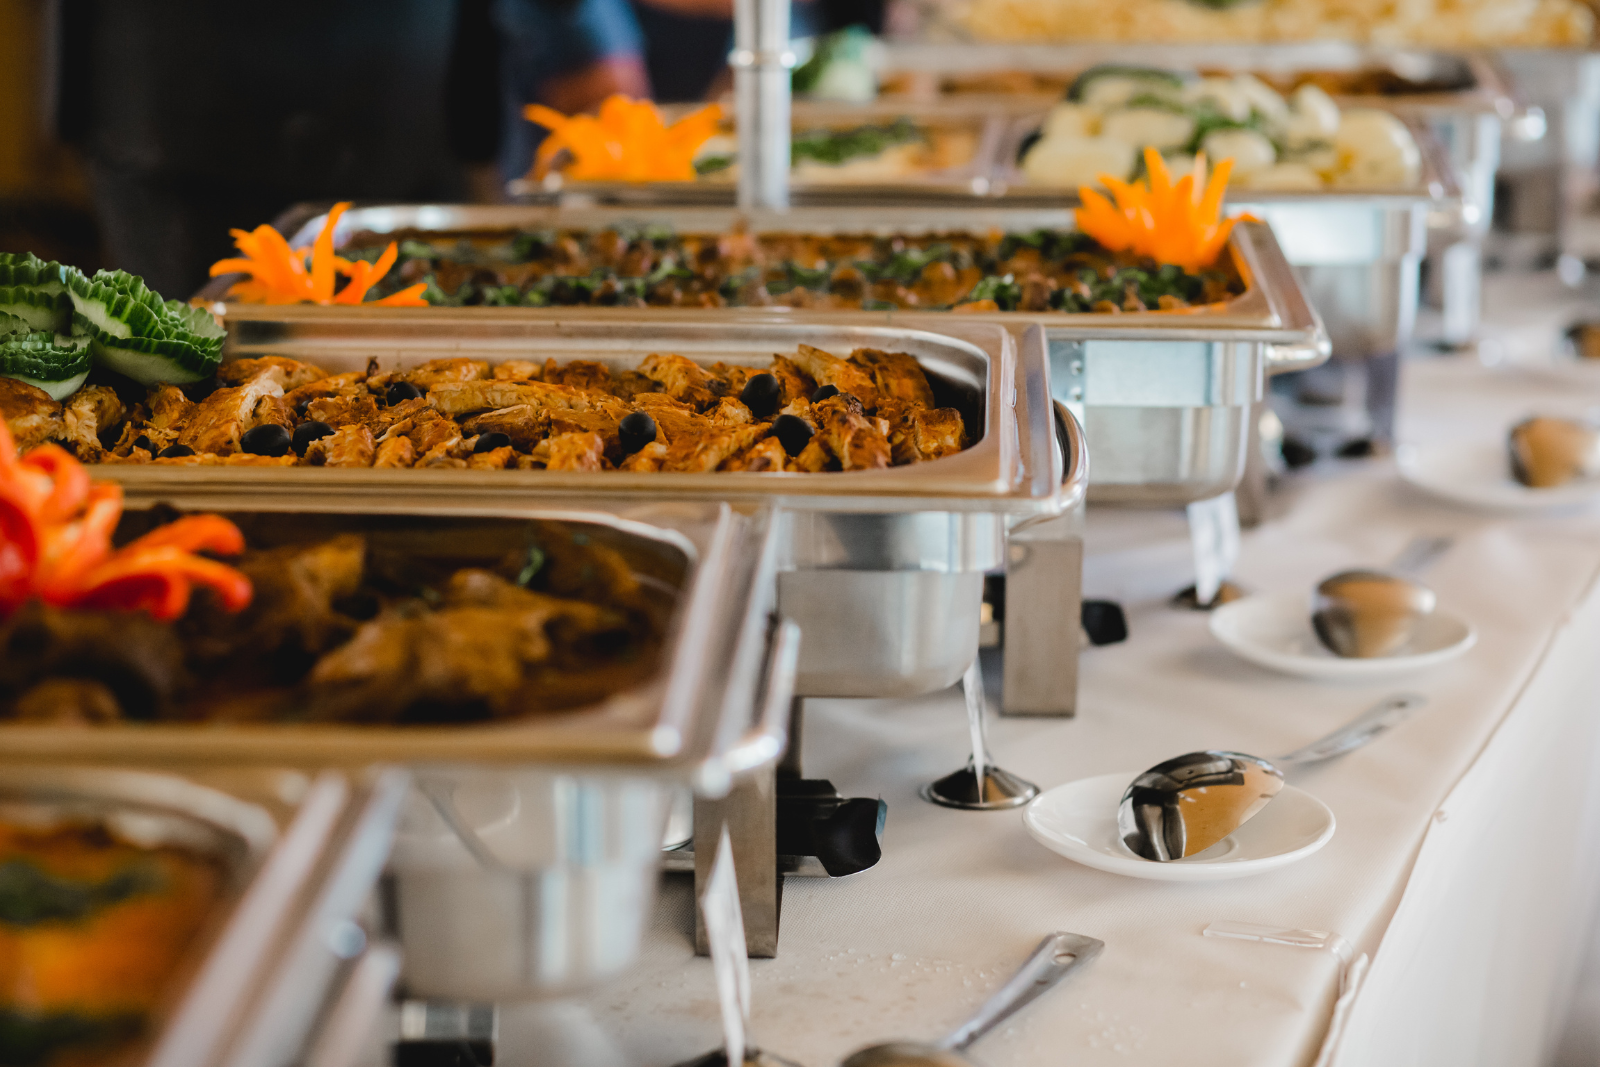
Make sure you have the proper number of utensils

You may hear from your local health inspector or read in various state or municipal food codes that you need a “sufficient” number of utensils. Rarely do these regulations specify what constitutes “sufficient.” 

In most cases, there’s no specific number of how many you need to get by, but you do need to ensure you have enough to get through the busiest rush without running the dishwasher.

The proper number of utensils not only helps improve efficiency in the kitchen but also makes sure you're adhering to food codes and keeping everyone safe.

While there’s no one-size-fits-all answer to how many you should have ready to go, make sure you have a stockpile that’s substantial enough to get you through those busy times. Furthermore, store them in an accessible area that keeps the stockpile clean and safe. 

Color code your utensils

By assigning specific colors to your utensils, you can easily differentiate which ones you should use for raw, cooked, and ready-to-eat foods. For example, you could use red for raw meat and green for salads.

Once more, we’ll reiterate that cross-contamination can occur when bacteria from one food source is transferred to another. This cross-contamination can lead to foodborne illnesses and unhappy customers. Using color-coded utensils can drastically reduce this risk and keep your kitchen running smoothly.

Make sure your utensil has a handle

Always make sure your utensil has a handle. Avoid using makeshift utensils like ramekins or other random items. These can introduce harmful bacteria to your food and cross-contaminate surfaces (and, let’s face it, they’re just not efficient). Only use tools for their intended purpose!

Check utensils before use

Be sure to check your utensils before use. Inspect them for any damages or signs of wear and tear.

Chipped or ragged edges of metal spatulas, cracks or breaks in plastic ice scoops, splinters or chips on wooden knife handles, wooden cutting boards with deep grooves and potential loose wood debris, and fraying edges of plastic spatulas are all things you'll want to look for.

Not only are they unsightly and more likely to injure you, but damaged utensils can increase the likelihood of contamination because bacteria can hide in the damaged areas and be very difficult to clean.

Make sure utensils are air-dried or stored in a self-draining position

Once you’ve vetted your utensils for any damage, air dry them or store them in a self-draining position, such as upside-down.3 This will help prevent pooling water or moisture that could lead to bacterial growth.

Sanitize after every meal shift

As mentioned earlier, a good rule of thumb is to wash and sanitize your utensils after every meal shift (or every four hours). This practice will guarantee that you remove any potential bacteria or pathogens from the utensils, giving your customers a safe dining experience and your kitchen a much-needed reset after a busy food prep and service period.

Keep the kitchen organized

While good kitchen organization might seem like a luxury, the reality is that it’s more of a necessity. You don’t need to completely Marie Kondo the place, but you should take a few simple measures to make sure everything is in its rightful place and ways to find it.

For example, invest in proper knife storage (like magnetic knife strips) and efficient shelving units.4 Color code and label everything you can, and avoid storing utensils in (or near) entryways, bathrooms, or other spots that might be prone to contamination. Always make sure single service utensils, like straws and cutlery, are stored in closed containers to prevent cross-contamination.5

Again, you don’t need to be completely over-the-top with this but develop a system that works for your kitchen and ensure you communicate the plan to everyone on the team. 

Final Thoughts

These might seem like small details, but it pays to sweat the small stuff in a world where foodborne illnesses are all too common.

By implementing these best practices and investing in quality storage solutions, you can rest easy knowing you’re doing your part to prevent contamination.

But don’t stop there! Did you know that Trust20 offers products tailored specifically to the foodservice industry? We’re here to help you elevate your business, improve its standards, keep customers safe, and, of course, stay a cut above the rest.


Sources:

  1. U.S. Food and Drug Administration: 2022 Food Code
  2. Steritech: In-Use Utensils
  3. Montana Department of Health and Human Services: Food Equipment and Utensils: Storage and Handling
  4. Wasserstrom: 6 Ways To Tidy Up Your Commercial Kitchen
  5. Cabell Health: Equipment and Utensil Storage
Recommended Articles
Protect Food Safety: How to Create Hygiene Protocols and Best Practices
Your hygiene protocols are essential to preventing a foodborne illness outbreak at your establishment–not to mention the long-term success of your business. Every operator and manager who oversees a foodservice business should create standard hygiene practices and expect their entire team to consistently and carefully adhere to them. These protocols cover a range of activities, including cleaning, sanitization, and personal hygiene. Other basic habits and routines like handwashing, sanitizing food prep surfaces, and regular facility cleaning help you and your team maintain a safe food environment, reduce food safety incidents, and comply with relevant laws and regulations. Understanding why and how to implement structured safe food handling practices in your establishment will make protecting your customers second-nature, so you can focus on providing an exceptional experience for everyone who walks in your door. Keep reading to learn more about hygiene protocol, including: What are hygiene protocols? Why are hygiene protocols important to the food industry? What best practices should my hygiene protocols include? How do I create a hygiene protocol plan?
Continue Reading
Foodservice Management: How to Cultivate Better Kitchen Communication
The 2005 movie Waiting features a ragtag group of cooks and servers who navigate the ins and outs of working at a busy chain restaurant. The film vividly illustrates how one kitchen’s communication falls extremely short.
Continue Reading
Composting Versus Contamination: Are You Handling Food Waste Safely?
Every time you scrape your customer’s leftovers into the trash, do you feel a pang of guilt? If so, you’re probably not alone. Food waste is one of the most significant contributors to landfills worldwide. Up to 40% of all food produced globally ends up wasted, accounting for a staggering 1.3 billion tons per year.1 Not only does this food waste contribute to overflowing landfills and a global hunger crisis, but it also releases methane gas, a greenhouse gas that’s 25 times more potent than carbon dioxide.2 So, what happens to your kitchen scraps after dinner service? If the answer is “straight to the trash,” it might be time to rethink your approach. Composting and food donation programs are game-changers in reducing landfill waste. But before you toss those potato peels into the compost bin or box up leftovers for donation, know that you play a critical role. Mishandling these processes can lead to contamination issues, rendering well-intentioned efforts into a food safety nightmare. Here’s how to combine the two for the most effective approach possible. Below, we’ll cover: Making the case for food waste initiatives Best practices for safe composting Tips for safely donating leftover food Common challenges in handling food waste and how to overcome them Making the case for food waste initiatives Food waste isn’t just an environmental issue. It’s an ethical one, too. While billions of tons of food rot in landfills, over 828 million people worldwide go hungry every day. Composting and food donation directly address these issues in tangible ways. Composting, for one, gives organic waste a second life as nutrient-rich soil. This soil naturally improves agriculture, reducing dependence on synthetic fertilizers that often harm ecosystems. Plus, composting keeps waste out of landfills, limiting methane production and, ultimately, fighting climate change. For food donation, the math is simple. High-quality surplus food is redirected to communities in need, helping to reduce both waste and hunger simultaneously. However, the benefits hinge on one critical factor: doing it safely. Foodborne illness and pest infestations can derail the most well-meaning waste reduction efforts, which is why implementing strict food safety practices is non-negotiable. Best practices for safe composting Composting is an excellent way to manage food waste sustainably, but it’s also where contamination risks can sneak in if proper precautions aren’t taken. At its core, composting uses natural decomposition to break down organic materials into nutrient-rich humus that can nourish soil. Think of it as recycling for your banana peels, coffee grounds, and vegetable trimmings, powered by microbes and earthworms. Done right, composting reduces waste and lowers your trash bill. Plus, ingredients that can be composted account for nearly 30% of the waste we send to landfills.3 It’s truly a win-win. The challenge? Making sure what you put in won’t compromise the process or breed food safety risks. Here are some tips on how to ace the composting process without crossing any unnecessary contamination lines: 1. Separate organic and non-organic waste The golden rule of composting is segregation. Distinguish your compostable scraps (fruit peels, veggie stems, eggshells) from non-compostable items like plastics, glass, and meat. Did you know that mixing non-organic materials increases the risk of cross-contamination and pest attraction? Don’t do it, not even once. There’s zero point since these materials don’t break down, anyway. 2. Avoid these common mistakes Don’t compost: Meat, dairy, oily foods, or anything greasy. These items can attract rodents, create odor issues, and invite unhealthy bacteria, such as Salmonella. Do compost: Vegetables, fruits, plant-based scraps, coffee grounds, and eggshells (your compost pile will thank you). 3. Follow proper storage and decomposition techniques Always contain your compost in pest-proof bins with tight lids. Turn the contents regularly to aerate them and quicken the decomposition process (which also helps keep odors under control). A balance of "greens" (wet, nitrogen-rich items) and "browns" (dry, carbon-rich materials like leaves or cardboard) is key here! 4. Notes for commercial kitchens For large-scale operations, always follow the food safety standards specific to your industry for handling waste. Designate separate areas of the kitchen for composting preparation, use industrial-grade storage solutions, and educate your staff on best practices. Tips for safely donating leftover food While a third of all food in the United States goes uneaten, it’s estimated that up to one in eight Americans is struggling with food insecurity.4 Not all food waste needs to go in a bin, particularly if that food is still perfectly safe to eat. Donation programs tick many boxes. You can reduce food waste while helping people in need, while at the same time reducing your environmental impact and garbage bills. When handled properly, unused, safe-to-eat food can feed hungry people rather than rotting in landfills. Food donation programs are a fantastic opportunity—but they demand strict adherence to food safety practices. 1. Maintain temperature controls Ensure perishable foods are stored at a temperature below 40°F (or above 140°F) during preparation and transport. This eliminates the risks of bacterial growth during the donation process. Invest in insulated containers and thermometers to maintain compliance with food safety standards. 2. Practice excellent hygiene From handling to packing, stick to established hygiene practices. Use gloves, sanitize surfaces, and ensure staff are trained in food safety protocols. 3. Partner with certified food rescue organizations Collaborate with reputable organizations, such as local food banks or charities that specialize in food redistribution. Look for those certified in food safety and familiar with your local health regulations. Examples include Feeding America and similar local community programs.5 Bonus tip: In addition to helping communities, some states offer tax deductions for food donations. Check your local laws, as you may find yet another incentive to give back while staying green. 4. Label and package donations properly Always label donated food with the date, handling instructions, and a clear description of the item. Proper packaging significantly reduces the chances of spoilage during transport. Common challenges in handling food waste and how to overcome them Even with good intentions, food waste management presents its fair share of challenges. From contamination risks to odor and pests, these issues can make any food safety professional's job feel harder than it needs to be. Here’s how to tackle common obstacles. 1. Identifying and reducing contamination risks Cross-contamination is a top concern, especially when it comes to handling food waste. To manage it effectively: Use separate bins for compost materials and non-compostables. Train staff to avoid mixing potentially hazardous items like raw meat scraps. Conduct regular compliance checks in your compost or waste handling areas. 2. Educating kitchen staff Clear, simple education is incredibly important. Many staff members might not fully understand the ‘why’ behind food waste safety. Posters, on-site training, or quick video guides can make a significant difference. For commercial kitchens, mandatory food waste management training should also be part of the onboarding process. 3. Addressing pests and odors Pests and smells often deter businesses from composting or sorting waste. Use pest-proof bins (metal or thick plastic works well) and maintain proper moisture and aeration in your compost pile. Dealing with persistent odor issues? Add more “browns” like dry leaves or paper to balance out over-moist “greens.” 4. Advocating for eco-friendly waste systems As a foodservice professional, you can play a pivotal role in driving change. Encourage your establishment to invest in sustainable waste systems. Provide data-backed insights (like reduced garbage bills or tax benefits) to persuade decision-makers to adopt eco-friendly practices. It may not seem like your small efforts add up to much, but as Robert Collier famously said, “success is the sum of small efforts, repeated day in and day out.” Follow a winning recipe for eco-friendly food waste success Managing food waste doesn’t have to be a mystery. Whether you’re composting kitchen scraps, donating surplus food, or troubleshooting challenges like contamination, the key is to combine eco-friendly approaches with solid food safety practices. By adopting sustainable systems, such as composting and food donation programs, you’re not only safeguarding public health but also reducing your environmental impact. You’re contributing to a larger mission that reduces waste, feeds communities, and protects the planet. Clever systems, compliant kitchens, and compost heaps brimming with potential—that’s the future of food waste in an eco-friendly kitchen. And if you’re still struggling with figuring out ways to keep your kitchen safe, effective, efficient, and compliant, be sure to explore Trust20’s many resources for food safety, from food handler training to food manager certification. What steps will you take today to make your kitchen both sustainable and safe?
Continue Reading
Food Safety Best Practices: When Do I Need to Change My Gloves?
Proper handwashing is not only an essential food safety practice, but also a responsibility that helps prevent foodborne illnesses. However, handwashing alone isn’t always enough, especially when not done correctly. A U.S. Department of Agriculture (USDA) study found that 48% of test kitchen participants caused cross-contamination after not washing their hands.1 This study highlights the crucial role of every food handler in maintaining food safety.
Continue Reading