


Spring hits, and suddenly, you’ve found yourself seeing every corner of your kitchen through fresh eyes. You spot crumbs behind the mixer, discover a mystery puddle by the walk-in, and realize that the stack of cutting boards is in disarray.
A deep clean makes things look good, but it’s also a key component of food safety and protects your customers, your team, and your reputation. With about 48 million people falling ill from foodborne illnesses each year, a deep clean may be your first line of defense.1
This isn’t something you have to add to your plate this spring; however, as you refresh your space and welcome warmer weather with open arms, consider how you can give your kitchen a bit of a shine this season, too.
Keep reading to find inspiration for a top-to-bottom refresh that will set a high standard for safety and cleanliness all throughout the year. This checklist will help you get started, whether you’re serving children their lunches at school or running a busy restaurant line.
The Checklist at a Glance
Deep clean and sanitize all food contact surfaces
Inspect and overhaul refrigeration units
Degrease and clean exhaust hoods and vents
Scrub and calibrate all kitchen equipment
Empty and sanitize every storage area
Refresh and replace your cleaning tools
Conduct a thorough drain and plumbing check
Review and restock food safety supplies
Train your staff on updated cleaning protocols
Create a maintenance schedule for year-round cleanliness
1. Deep clean and sanitize all food contact surfaces
Your prep tables, cutting boards, and countertops are the command center of your kitchen. Unfortunately, they're also hotspots for cross-contamination if they aren’t cleaned and sanitized correctly (a quick wipe won’t cut it).
Begin by cleaning every surface completely. Then, use a quality, foodservice-approved cleaner and hot water to scrub away all visible debris.
After rinsing, it's time to sanitize. Apply a food-safe sanitizer according to the manufacturer's instructions, paying close attention to the required contact time (also known as the period during which the sanitizer must remain wet on the surface to kill pathogens effectively).
Don't forget the less-obvious food-contact surfaces, either, like the handles of prep drawers, slicer guards, and can-opener blades.
2. Inspect and overhaul refrigeration units
Your refrigerators and freezers work around the clock, and they deserve a detailed clean-out. Be honest: when was the last time you or your team pulled all the shelves all the way out?
Start by transferring all of the food to another cold storage unit. Turn off the power and let the units come to room temperature (if it’s been a while since you’ve done a full defrost, this is a great time to do so).
Then, remove all the shelving and drawers and wash them with soap and hot water. Then, sanitize and allow them to air-dry. Scrub the interior walls, floor, and door seals to remove any spills or buildup. Pay special attention to hidden seams and door gaskets, watching out for cracks or damage that could compromise temperature control and waste energy.
Also, keep an eye out for black mold spots or any other issues that may signal a larger problem.
As you reload the fridges and freezers, take a hard look at the expiration dates on the food items. Toss any items that have passed their expiration date or are showing signs of spoilage.
3. Degrease and clean exhaust hoods and vents
That sticky film of grease above your fryers is gross, but it’s also a legitimate fire hazard and can lead to poor air quality. In fact, grease buildup is a leading cause of commercial kitchen fires.2
A greasy vent also attracts pests and can drip onto otherwise clean surfaces. While a daily wipe-down helps, a deep spring cleaning will require a bit more. Use a commercial-grade degreaser to thoroughly clean the hood, filters, and any accessible ductwork. Make sure you follow safety protocols, as these cleaners can be quite potent (you may want to wear goggles and gloves).
Depending on the complexity of your system and the level of buildup, it may be best to hire a certified professional for this job. They have the tools to clean the entire system, from hood to rooftop fan, to keep you both compliant and safe. Exhaust hoods and vents are spots that health inspectors and fire marshals both tend to check, so a professional cleaning may help ensure you pass your next inspection.
4. Scrub and calibrate all kitchen equipment
Nothing kills the flow of a kitchen quite like a sticky oven door or a fryer with gunk between the baskets. Your equipment needs regular maintenance to function properly, so unplug everything and give it a thorough cleaning. Disassemble what you can, like fryer baskets, oven racks, and mixer attachments, and soak them in a degreasing solution. Also, scrub the interiors and exteriors of ovens, grills, and microwaves.
Beyond cleaning, you need to take some time to check for function. Calibrate your thermometers using the ice-point or boiling-point method to confirm they’re giving accurate readings. It may not sound like much, but a few degrees off can be the difference between a perfectly cooked meal and a food safety incident. Similarly, check all equipment for frayed cords or worn-out parts and schedule repairs as needed.
5. Empty and sanitize every storage area
The back of your dry storage holds more surprises than you think, quietly harboring dust, pests, and expired products that can make your customers extremely sick. Now’s the time for a complete overhaul.
Empty those shelves and look for open bags of flour, sticky syrup bottles, or boxes the mice have claimed. Toss anything that’s past its prime or in damaged packaging. Also, nix any items showing signs of pest activity, such as gnaw marks or droppings.
Once the shelves are empty, vacuum up any loose debris and then wash the shelves, walls, and floors with soap and water. After rinsing, apply a sanitizer and let it air dry. Before restocking, implement a First-In, First-Out (FIFO) system to keep your inventory fresh.
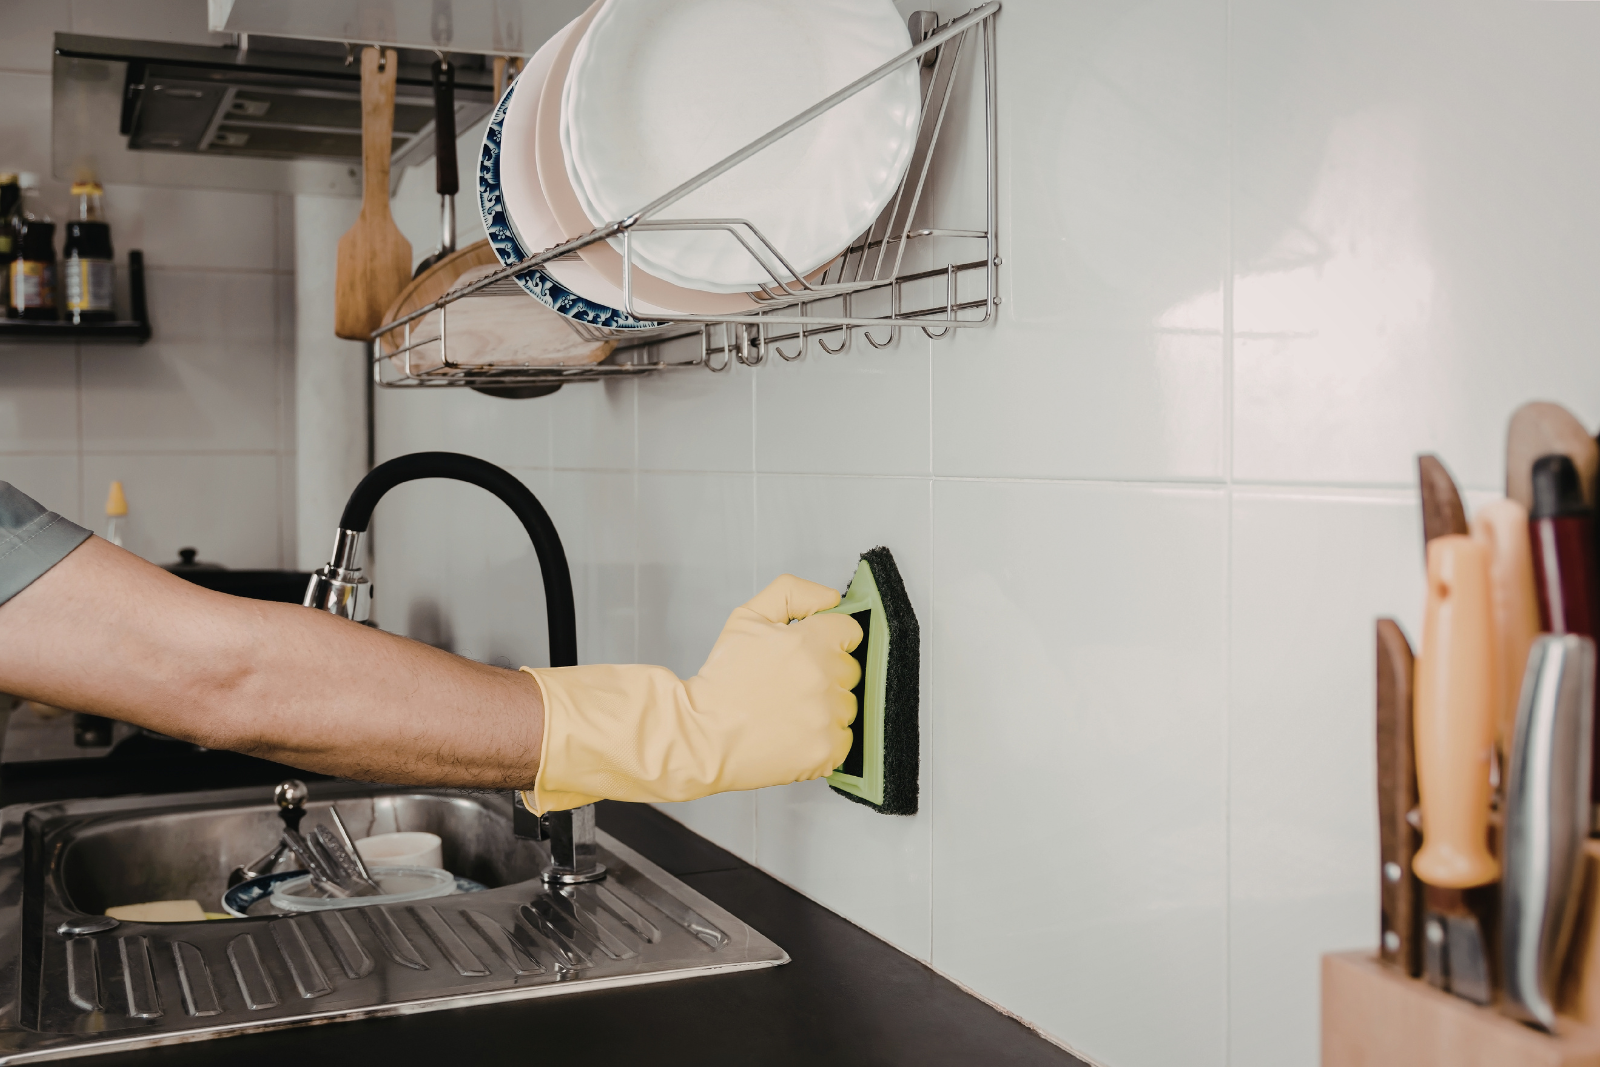
6. Refresh and replace your cleaning tools
Keeping old, battered cleaning tools around is like expecting a rusty spoon to slice steak. It’s just not going to cut it, literally.
Take a hard look at your mop heads, brushes, and sponges. Mold, funky odors, or flattened bristles mean it’s time for something new. Opt for color-coded tools if you haven’t already, as they can be an effective way to prevent cross-contamination (for instance, using red mops for restrooms and green ones for kitchen areas).
Also, review how and where you store your cleaning equipment. Mops should be hung to dry, and buckets should be emptied, cleaned, and stored upside down to prevent the growth of pathogens.
7. Conduct a thorough drain and plumbing check
Out of sight shouldn't mean out of mind. Clogged or slow-moving drains are breeding grounds for Listeria and other dangerous bacteria, which can cause foul odors and attract pests like flies and cockroaches.
Scrub floor drains with a stiff brush; use a cleaner designed for kitchen drains, not just hot water. You can also use enzymatic drain cleaners to break down the organic buildup that causes clogs and smells.
While you're at it, inspect all sinks and plumbing fixtures for leaks, since a small, persistent drip can create a damp environment perfect for mold and mildew growth and waste a surprising amount of water over time.
8. Review and restock food safety supplies
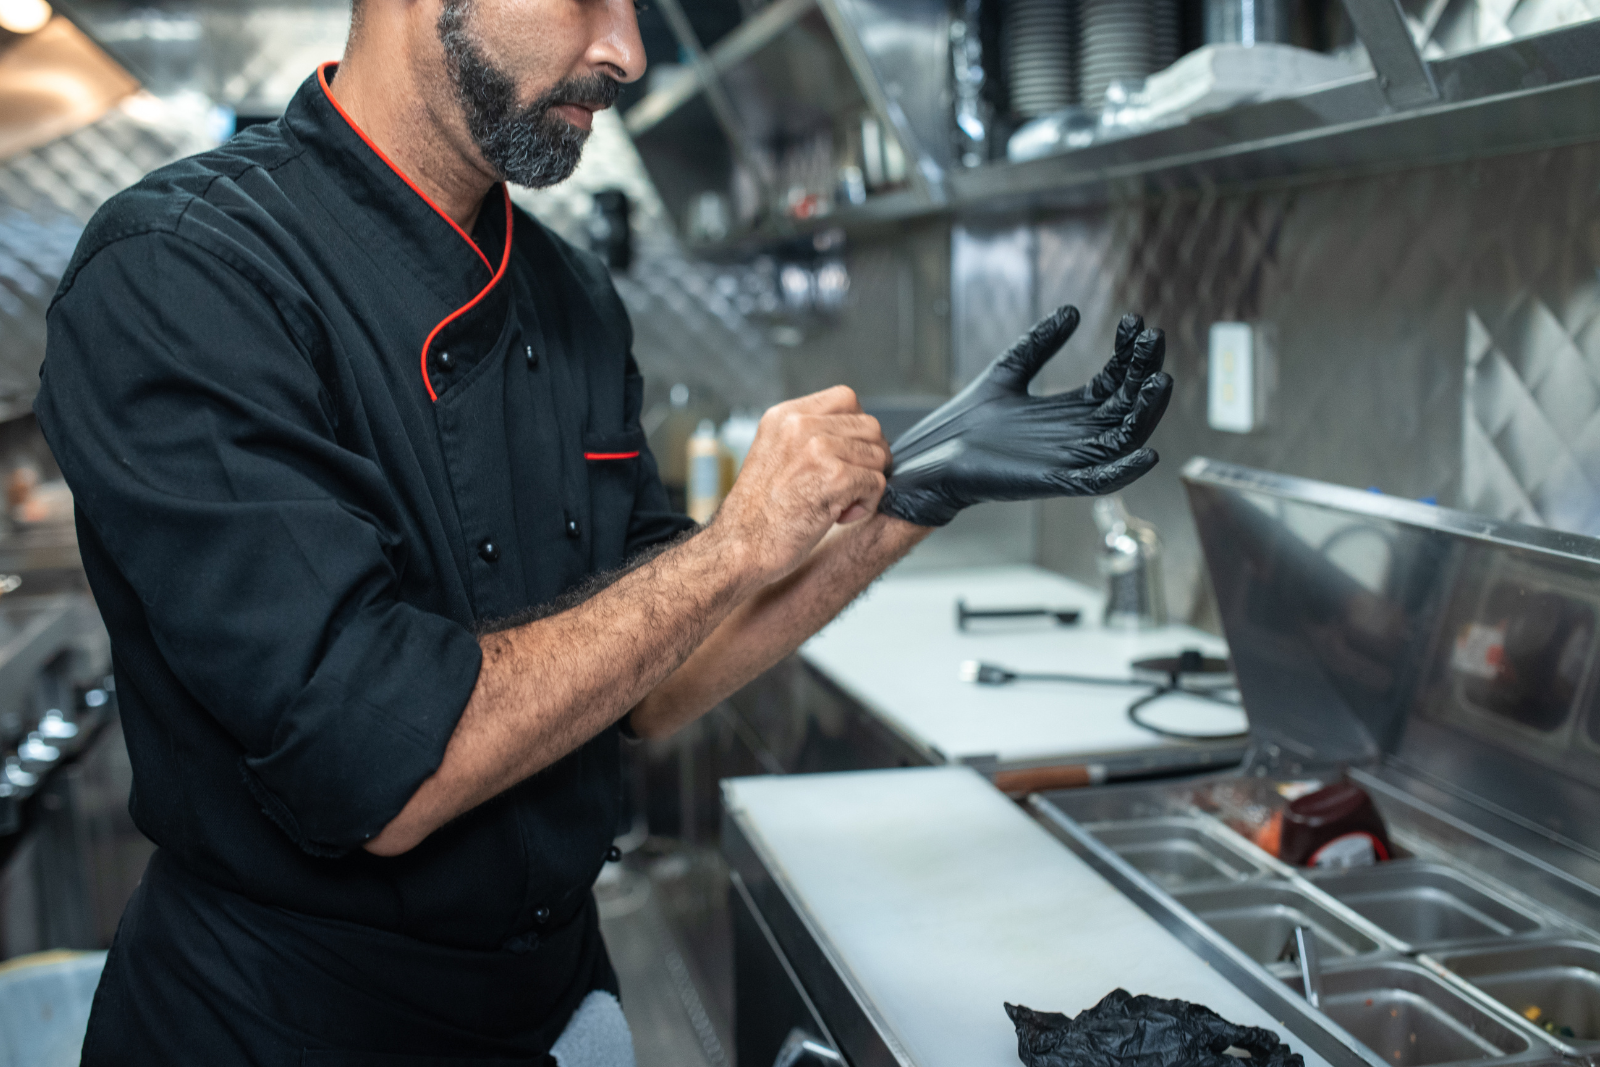
You can't follow proper protocols without the right supplies, so use this time to do a full inventory of your food safety stock.
Do you have an adequate supply of disposable gloves in all necessary sizes? Are your handwashing stations fully stocked with soap, paper towels, and warm water?
Check your first-aid kits, restock any used bandages or antiseptic wipes, and confirm you have plenty of sanitizer test strips to verify the concentration of your sanitizing solutions.
9. Train your staff on updated cleaning protocols
A clean kitchen is only as safe as the practices of the people working in it, and your spring cleaning efforts will only last if your entire team is on board and knows how to maintain the new standard.
As such, this is the perfect opportunity to conduct a refresher training session. Review the proper procedures for cleaning and sanitizing, the importance of contact times, and the difference between cleaning (removing soil) and sanitizing (reducing pathogens).
If you’ve introduced any new cleaning chemicals or tools, provide hands-on demonstrations. Walk your team through the kitchen and point out the changes you've made. When your staff understands the "why" behind the rules, they're much more likely to follow them consistently.
10. Create a maintenance schedule for year-round cleanliness
A spotless kitchen feels great until two weeks go by and dust settles, or old habits start to creep back in. So don’t let this deep clean remain just a major annual project. Instead, create a clear schedule and post it in every cleaning zone, with daily jobs covering spills and regular sanitizing, and weekly tasks handling things like cleaning behind the line or scrubbing walk-in floors.
Monthly, aim to tackle storage overhauls or clean behind large appliances. Assign names, not just tasks, so everyone knows their part, and so you can catch small issues before they turn into large ones.
And remember: a clean, safe kitchen serves as the cornerstone of any successful foodservice operation, protecting your customers and building a reputation for quality and care. While this checklist is a powerful tool, lasting food safety comes from a culture of continuous learning and commitment.
Clean kitchens aren’t just about aesthetics, but about protection. If you want to make sure your team has the know-how to keep things up to code year-round, Trust20 can help. Our training products are designed for busy professionals and trusted across the industry to help maintain clean, healthy, and productive kitchens year-round. Are you and your team ready to spring into action towards your cleaning goals?
Sources:
1. CDC: Facts About Food Poisoning
2. Chief Fire: Most Common Causes of Fire in a Commercial Kitchen